Courses
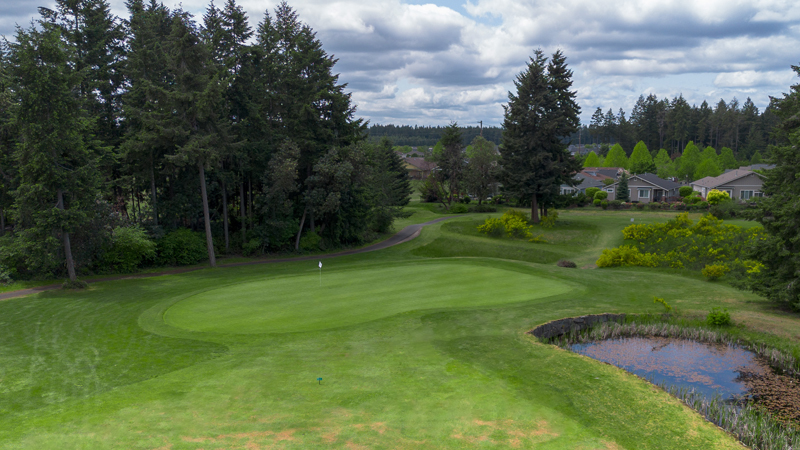
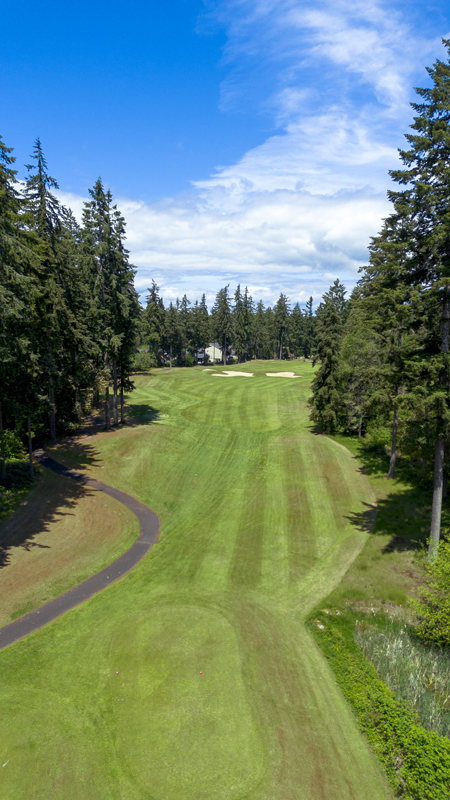
Our course consists of two distinct, public 18-hole golf courses: The Woodlands and The Links. The Woodlands is commended for its classic Northwest features, which include sprawling fairways that meander through tall timber, idyllic ponds and wetlands, and expansive multi-tiered greens. The fairways are lined by dense old-growth forest, while the course stretches from 5,600 to 7,170 yards offering players of all levels an exciting challenge.
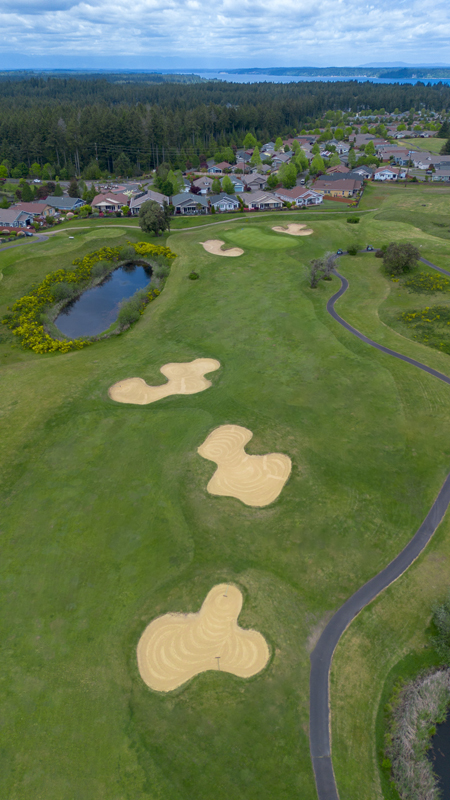
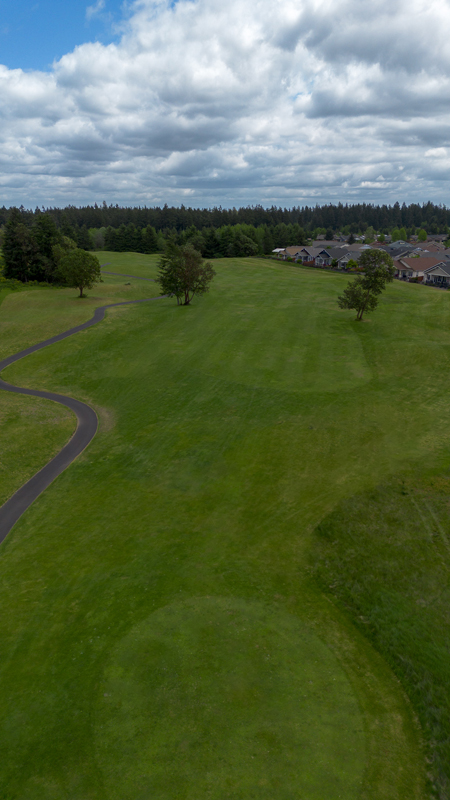
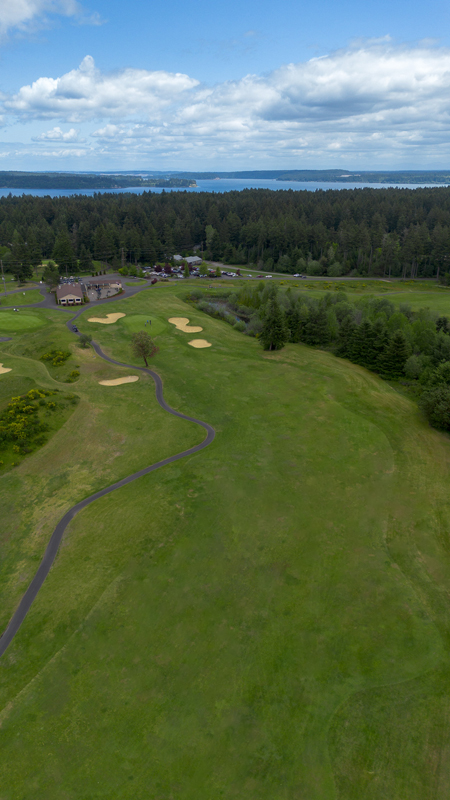
Designed by Peter L.H. Thompson, The Links boasts spectacular views of the Puget Sound and Mt. Rainier, creating one of the most scenic rounds you will play. Furnished with open fairways and lush rolling hills, The Links provides a stark contrast to its wooded counterpart. The Scottish-style links course stretches out to the mouth of the Puget Sound, offering something for every player, with 5 sets of tees and water on 9 of 18 holes.
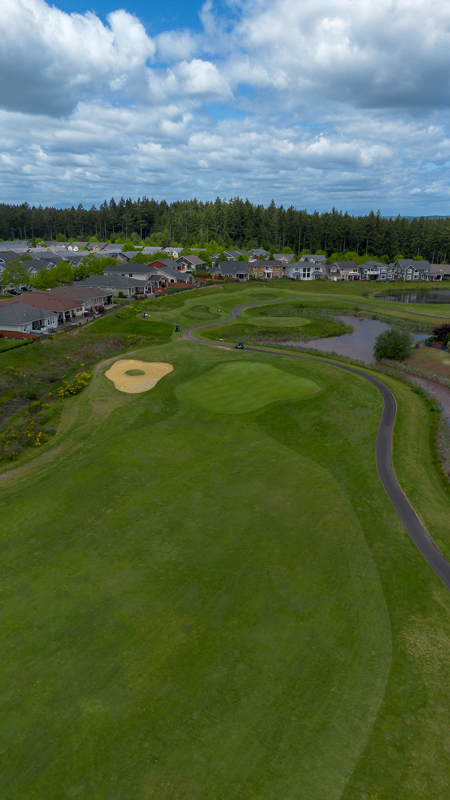
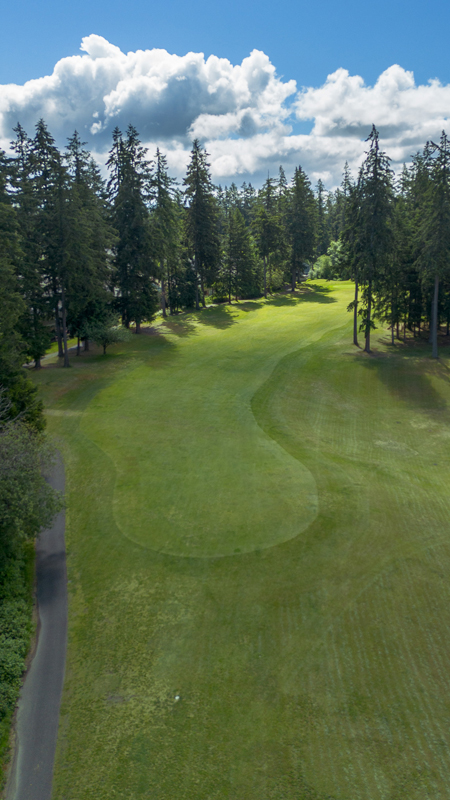
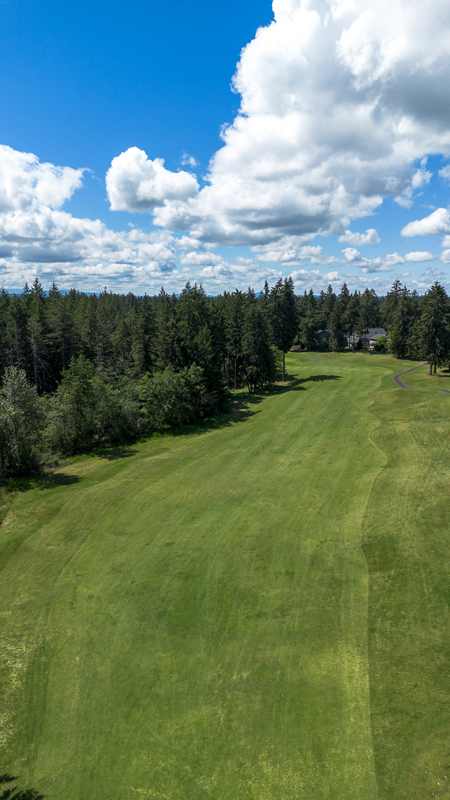
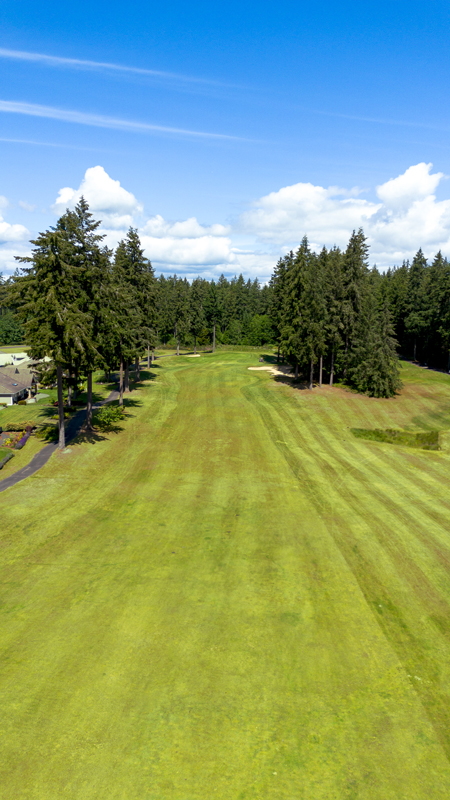
Par 4
360 yards
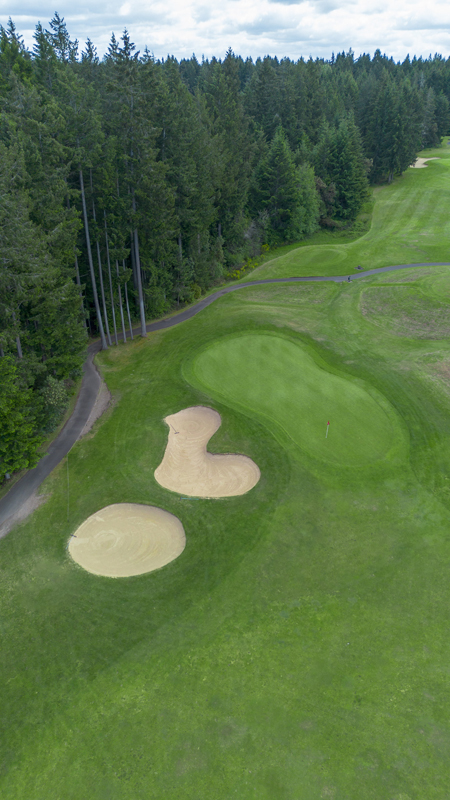
A great starting hole with trees lining the righthand side as the fairway slopes downhill and right. Sand traps protect the green on the left and water on the right.

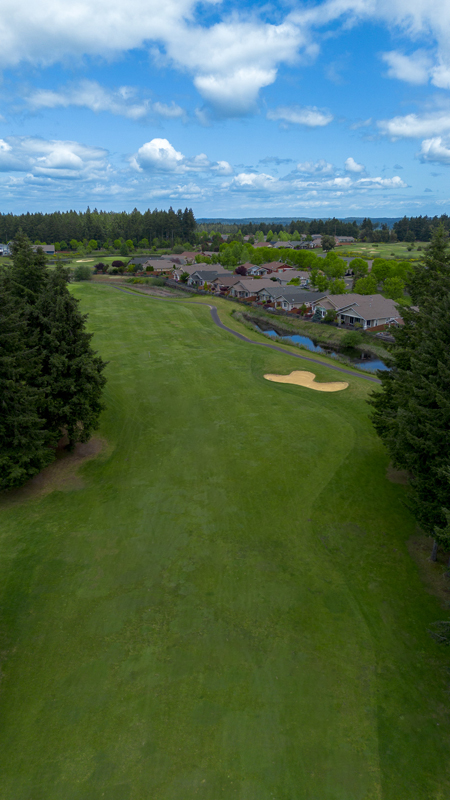
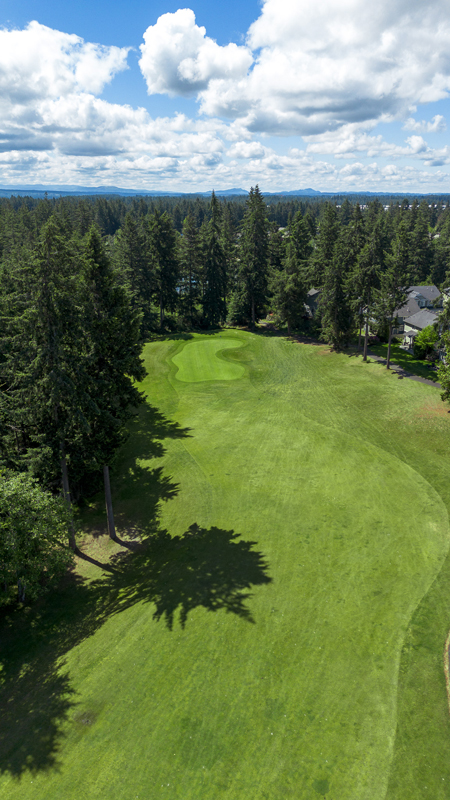
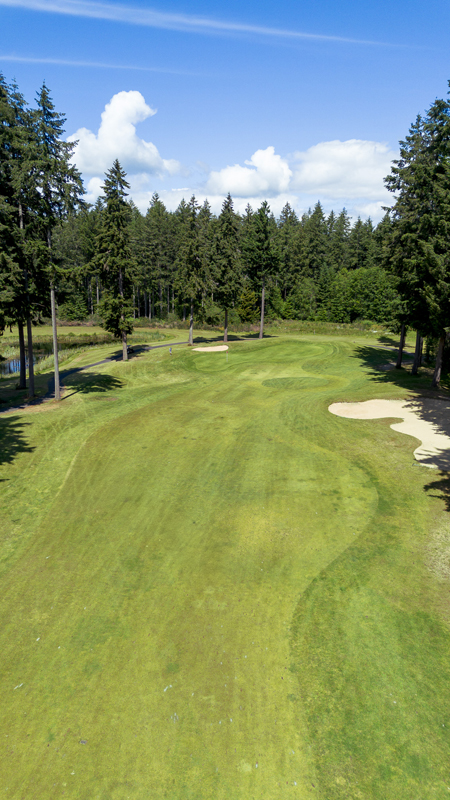
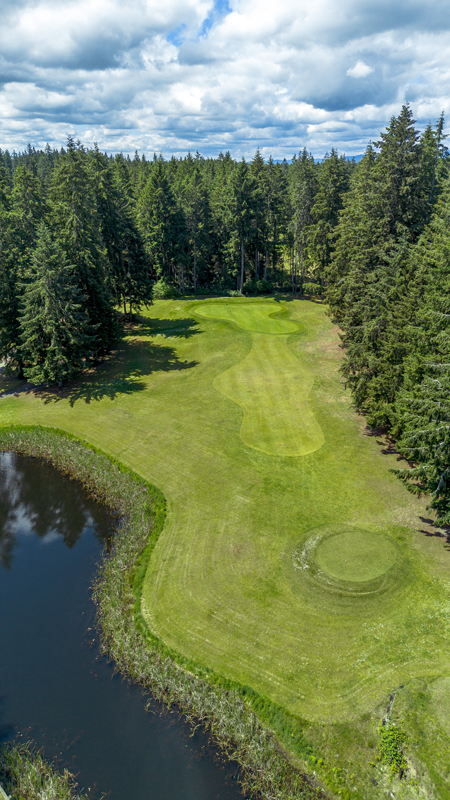
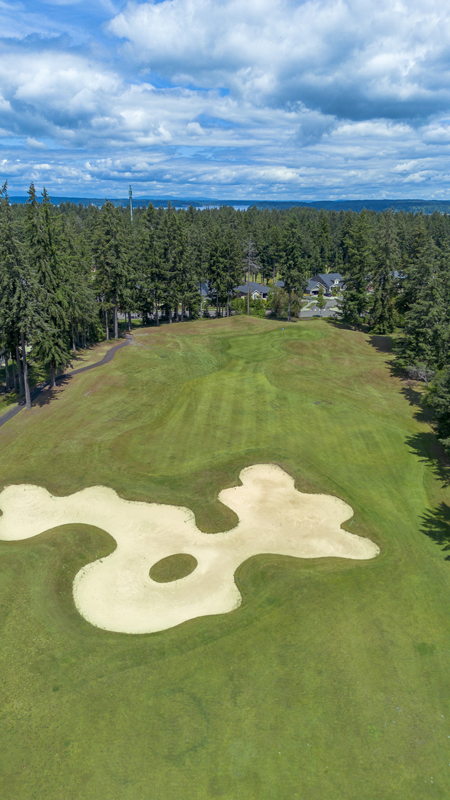
Par 5
506 yards
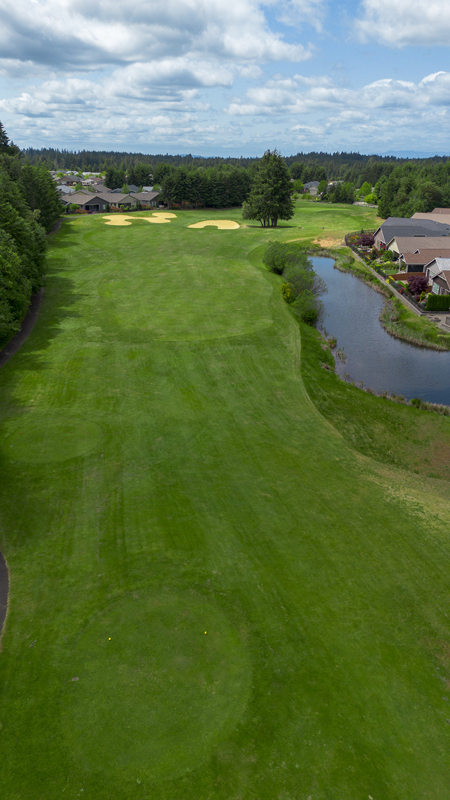
This par 5 contains water on the left side of the fairway and out of bounds to the right. Big hitters can reach in two shots and have the opportunity for an eagle putt—an excellent chance for a birdie on this hole.


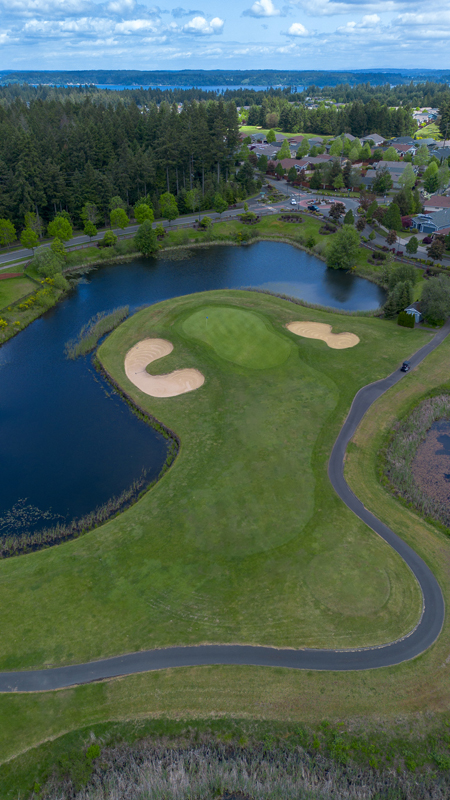
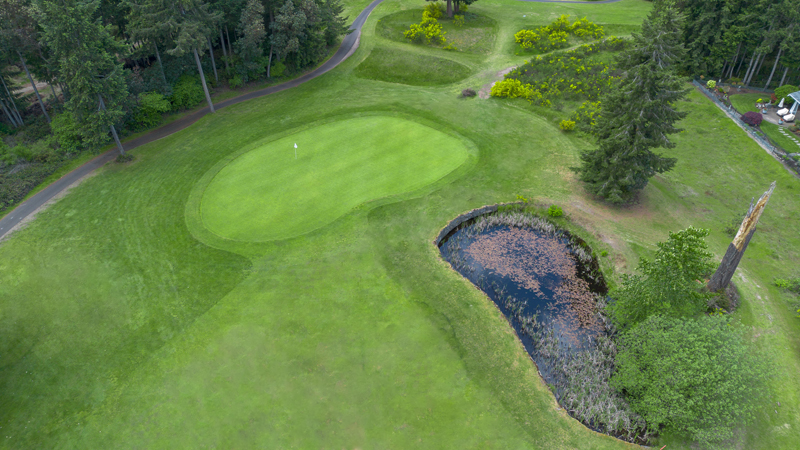
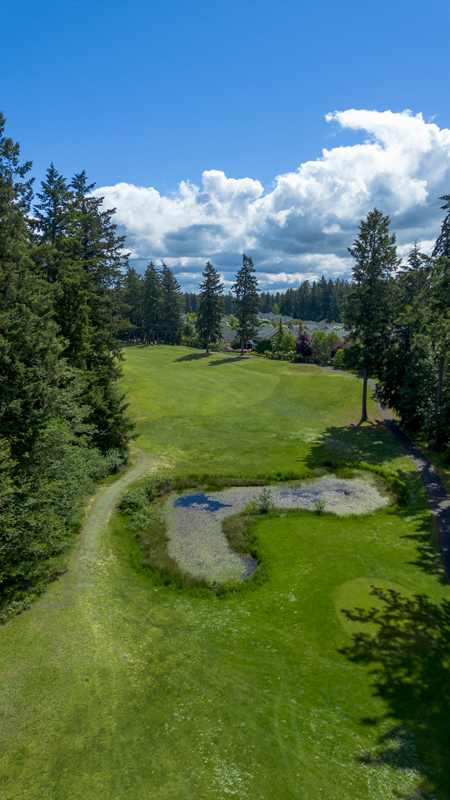
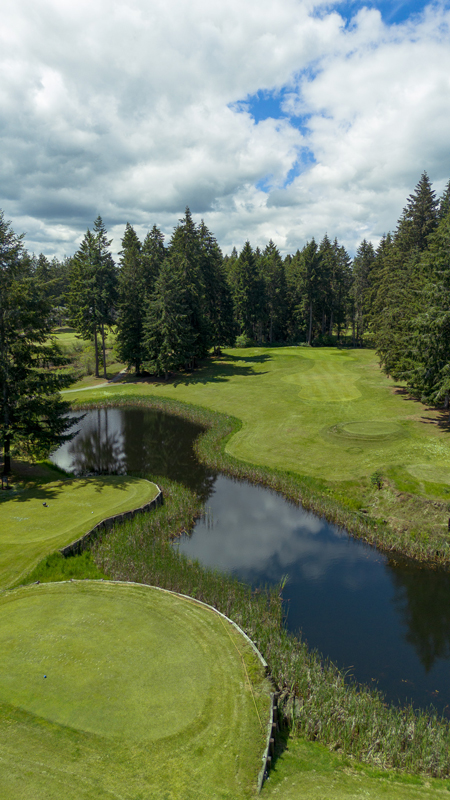
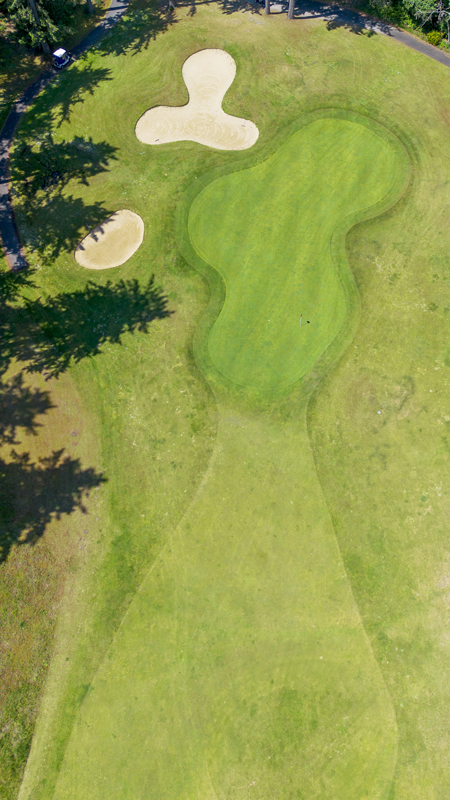
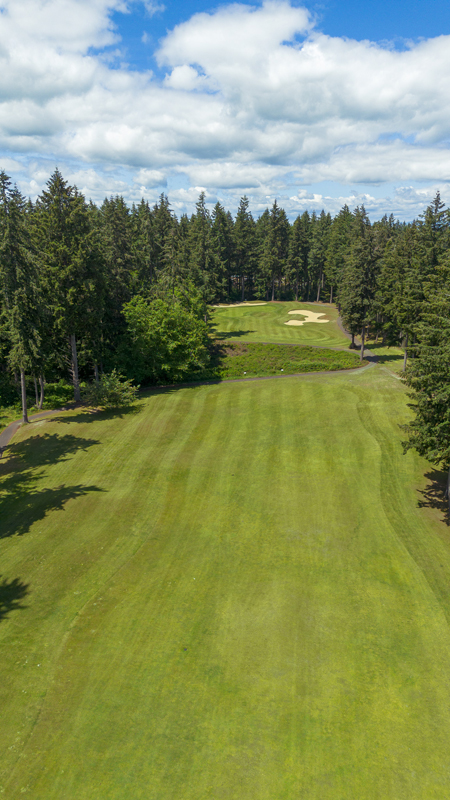
Par 3
154 yards
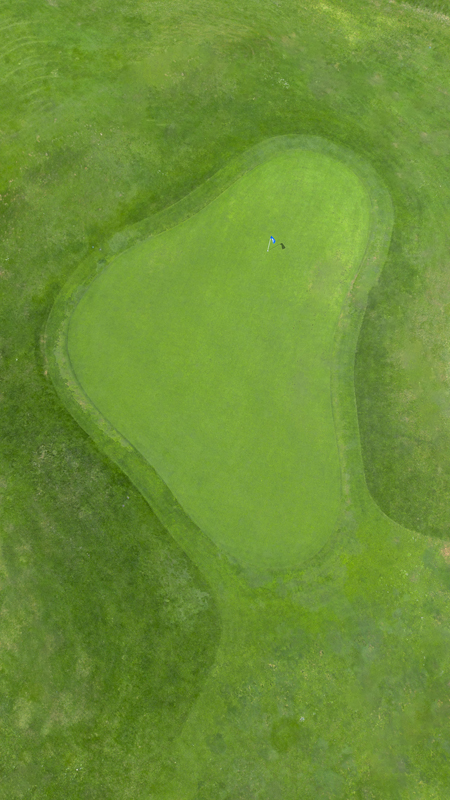
This par 3 has water coming into play about ½ way to the hole and then surrounding the left and right sides of the green. Be careful!

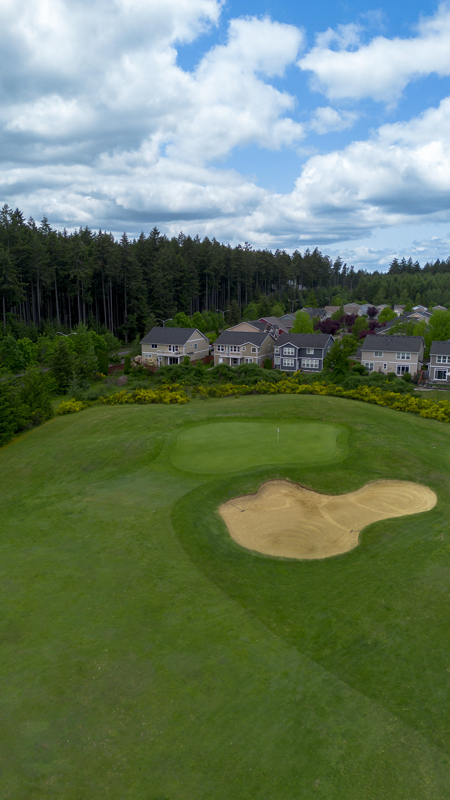
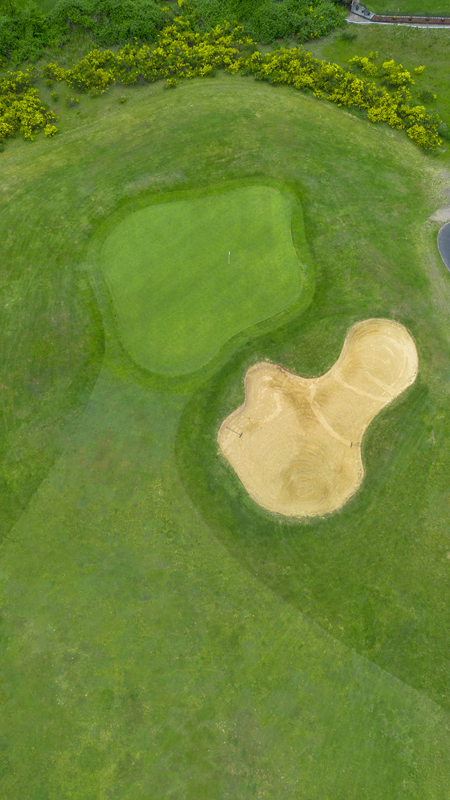
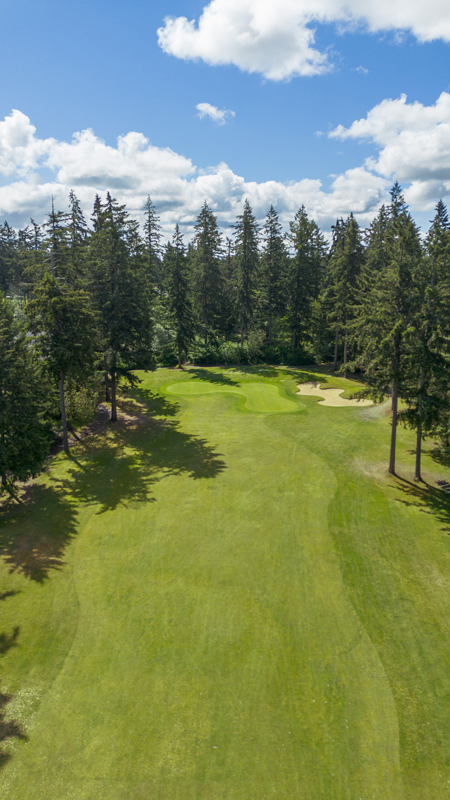
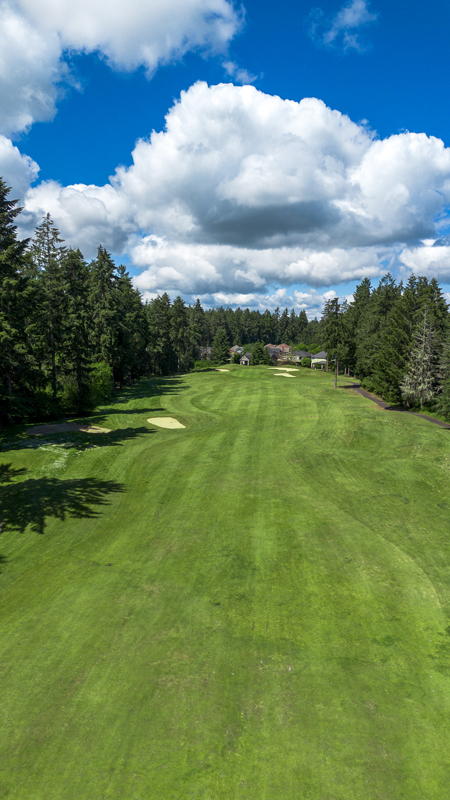
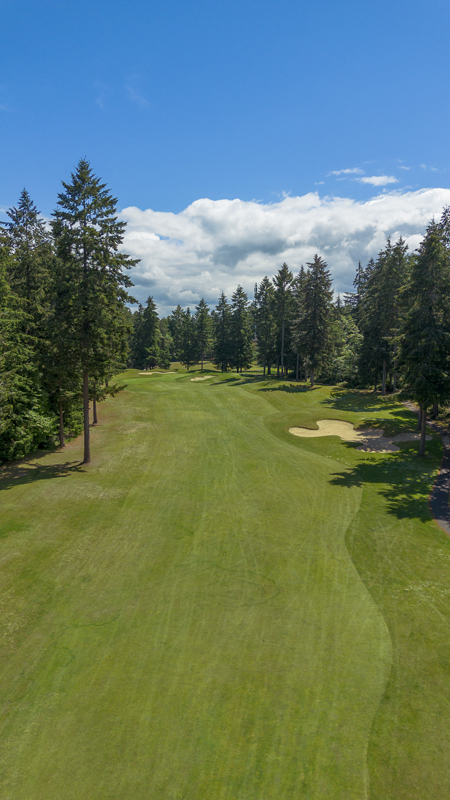
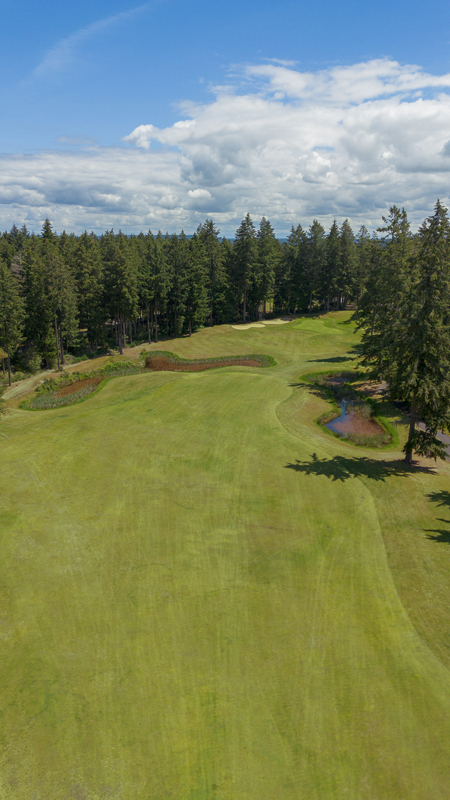
Par 4
378 yards
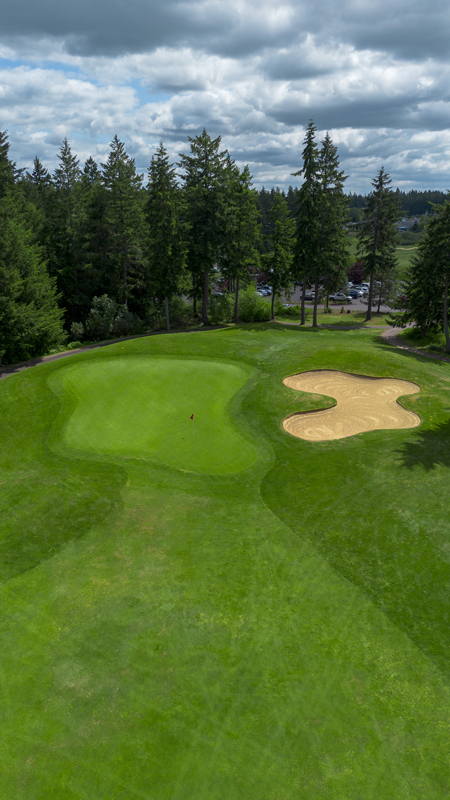
The 4th hole is a slight dog leg left with water on the left and a large bunker running down the left side of the fairway. The green is protected on the right side by another large bunker and rough to the left side.

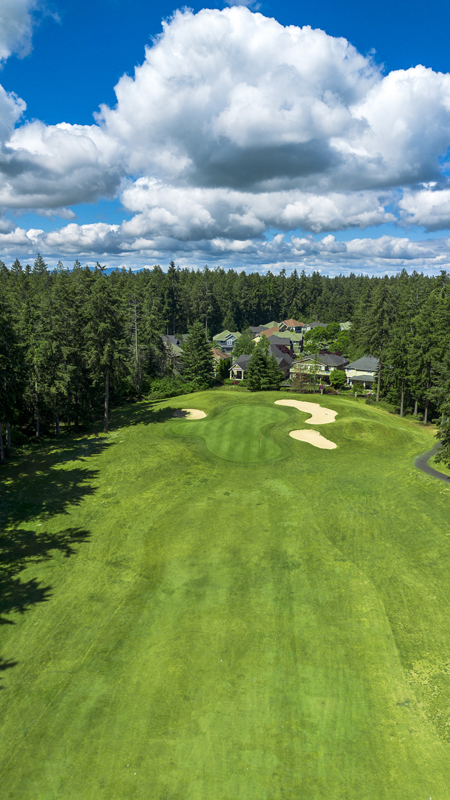
Par 4
423 yards
This is a dogleg left with out-of-bounds on both sides of the hole. After the dog leg, there is also water along the right side of the fairway all the way to the green. Short of the green is better than being long.


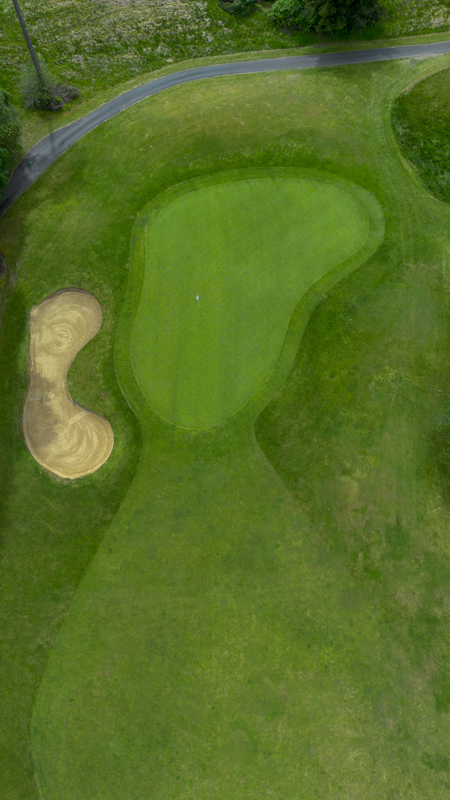
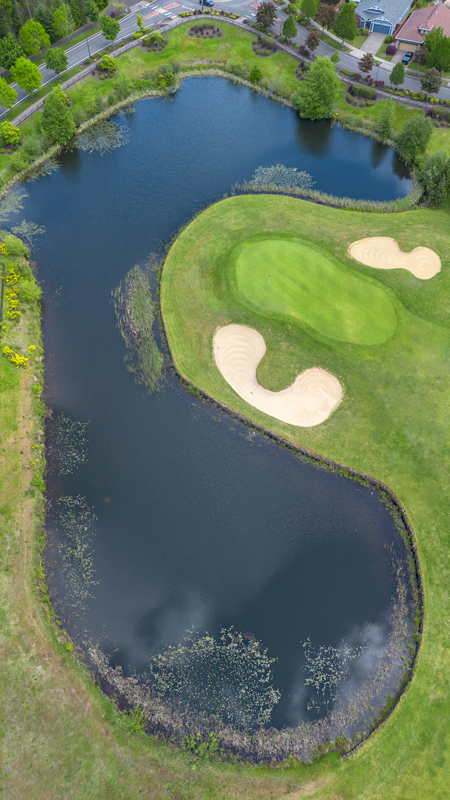
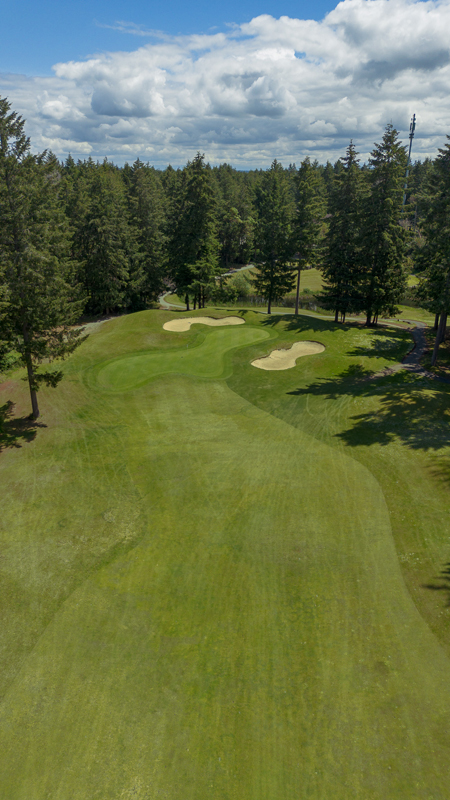
Par 3
182 yards
There is water left and right of the green of this par 3. A sand trap is also located on the front and back of the green. The green is a pretty good size, and getting it close can be challenging.


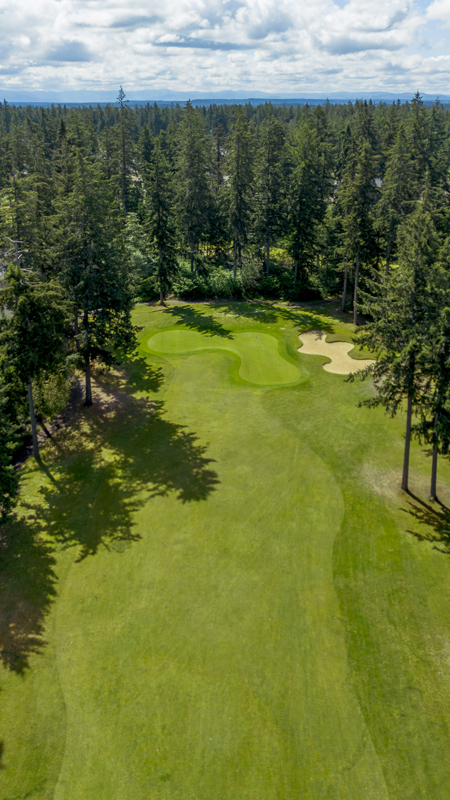
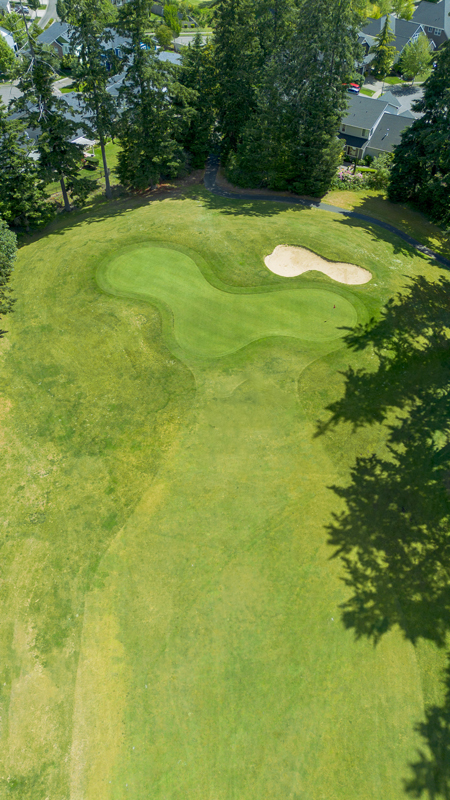
Par 4
413 yards
This par 4 doglegs left. The green has sand on the left and the right, and a short shot of the green will be better than a shot long of the green.

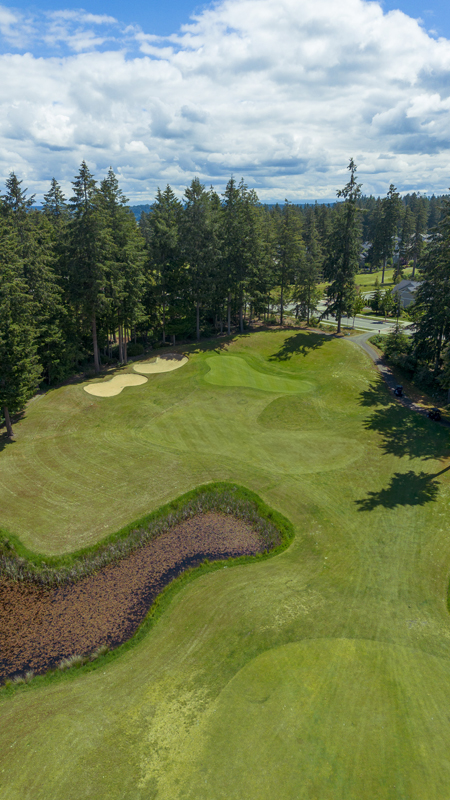
Par 4
405 yards
This hole has water on your right and sand traps to the middle right side. The green is elevated and has sand traps protecting the left-hand side, with water also left and short of the green. The safest play is to hit just left of the sand traps and then go for the green.

Par 5
540 yards
Tee it high and let it fly on this hole! A madrona tree and sand trap on the left side of the approach to the green can lead to disappointment, so play smart. A shortcut on this hole can be devastating, but two well-played shots will be rewarded.

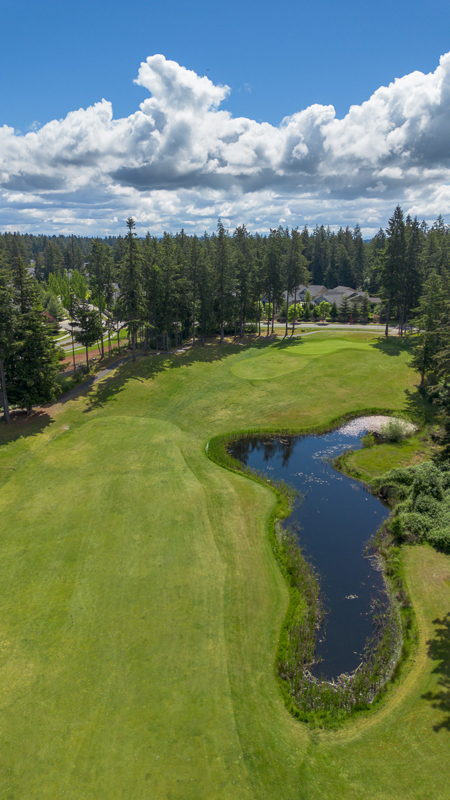
Par 4
379 yards
A dogleg left par 4 requires an accurate tee shot to the middle of the fairway. Accuracy is a must off the tee, as trees line both sides of the fairway. Favor the left side of the green, as the right side is protected by a pond just short of the green.

Par 4
359 yards
A wide fairway leaves you a great chance at birdie on this shorter par 4. There is out of bounds on the left, right, and directly in front of you, so think before you just hit your driver.


Par 5
544 yards
On this dog-leg right par 5, the tee shot must avoid two sets of trees on the right and out of bounds left. Pay attention to the hole location as the green slopes severely in the front half of the green.


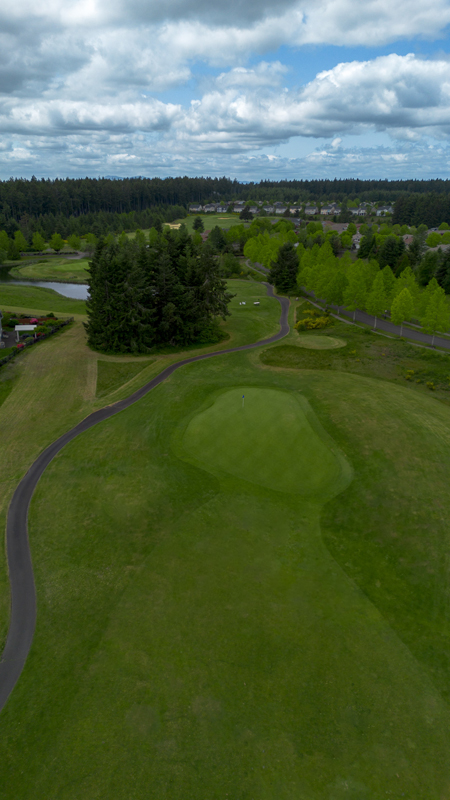
Par 3
194 yards
A downhill par 3 from elevated greens appears closer than it plays. Although it is the easiest hole on the course by handicap, if you are not careful, you can easily three putt this green, depending on hole location, and walk away with a bogey or worse.


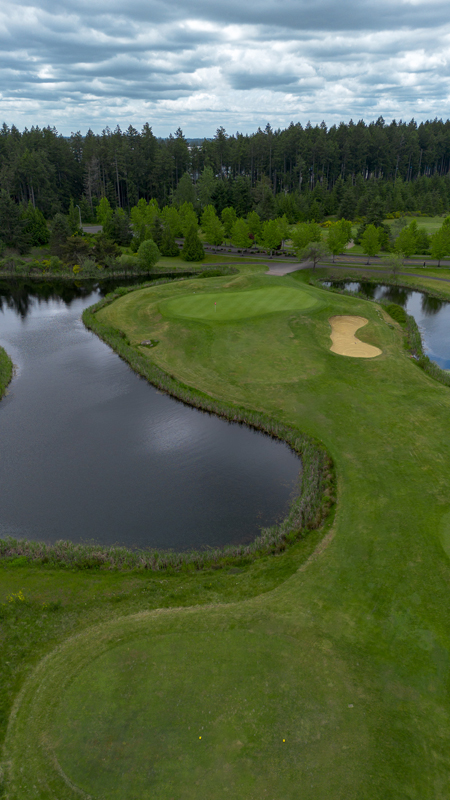
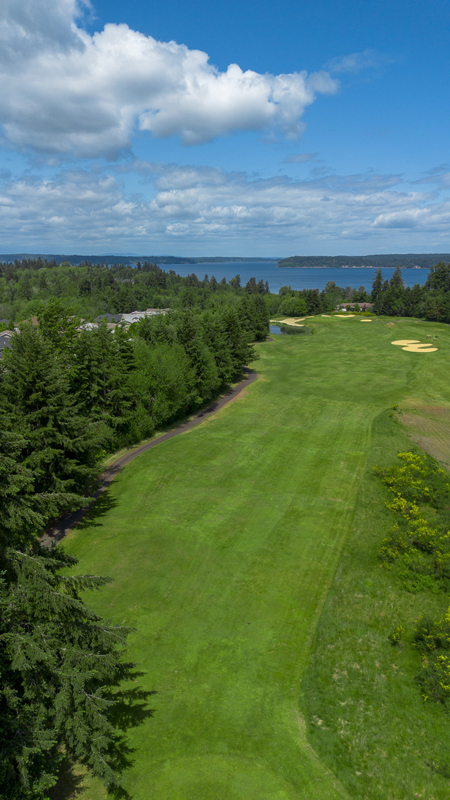
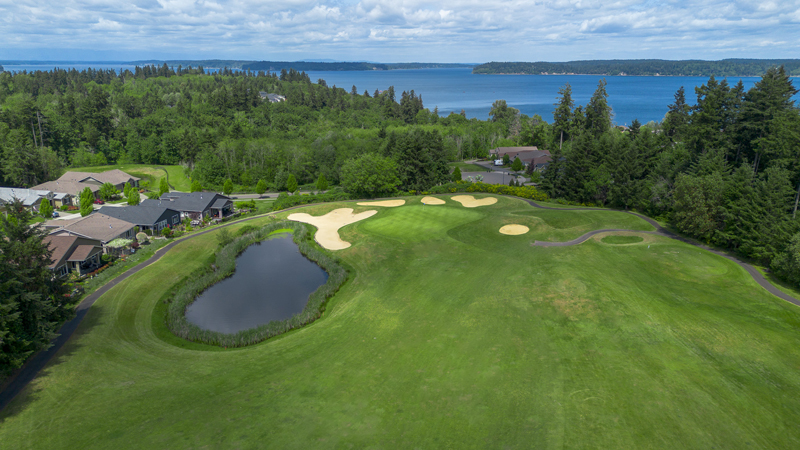
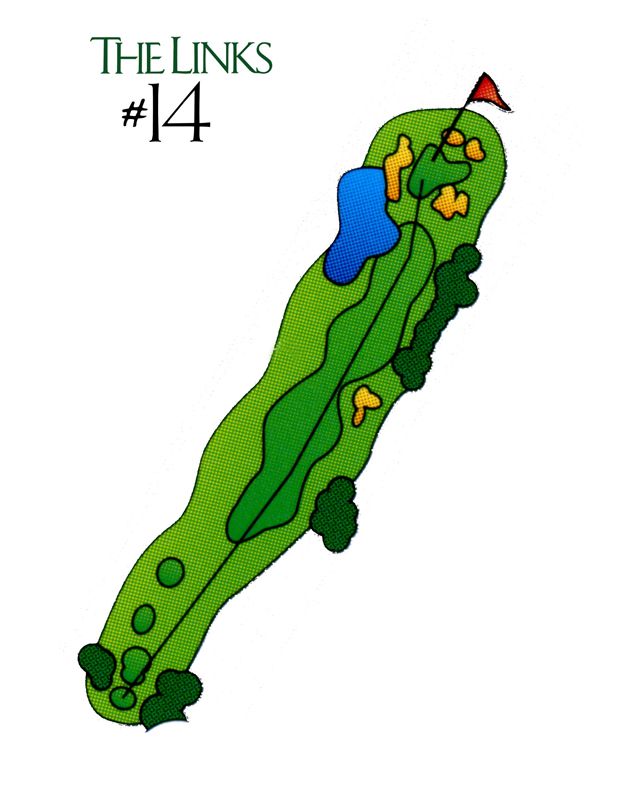
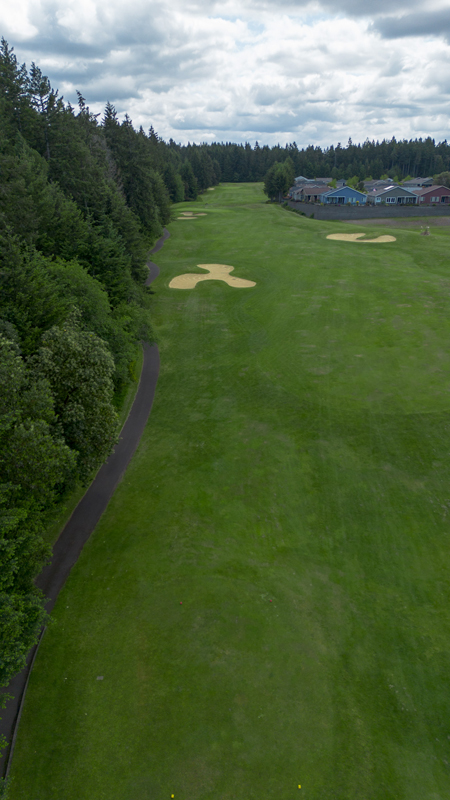
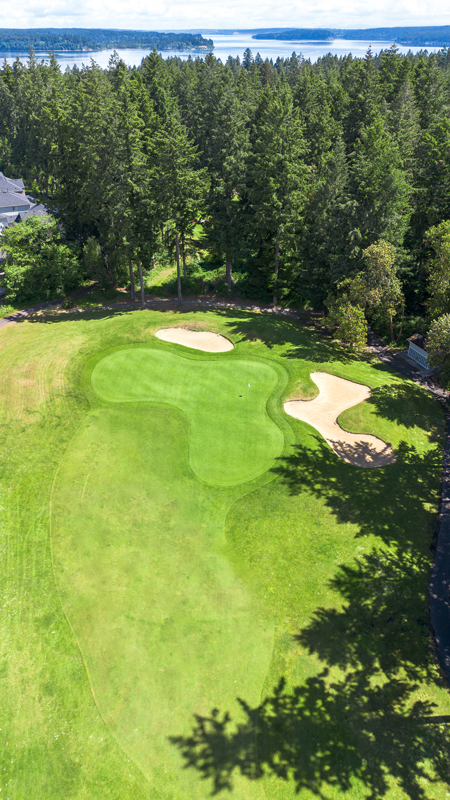
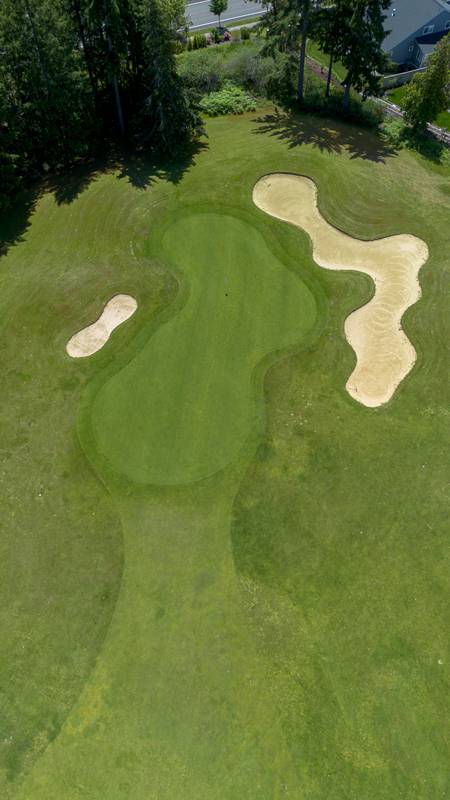
Par 4
418 yards
The signature hole for The Links. This 398-yard par 4 plays downhill, but the tee shot must avoid the fairway bunkers on the right and out of bounds on the left. The view of Puget Sound is breathtaking, but make sure you focus on your approach shot as the green is surrounded by bunkers, and anything short left will find a large pond.

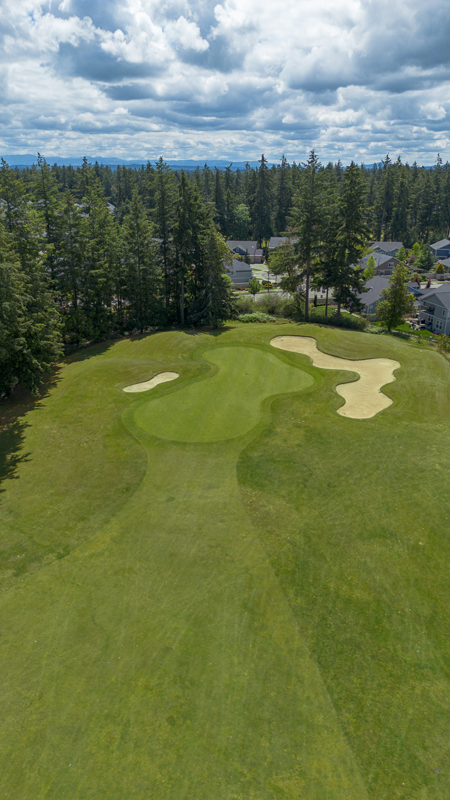
Par 4
376 yards
This 376-yard par 4 plays longer because it is uphill the entire way. The tee shot must avoid bunkers to the right and left side of the hole. Two very deep bunkers protect the left side of this green.


Par 3
171 yards
The large slope to the right of the green on this par 3 offers a nice backboard, so favor that side to avoid the bunker left. Add one club, as this hole also plays uphill.


Par 4
364 yards
Tee shots should favor the left side of the fairway on this dogleg right, as a large fir tree can be an obstacle for balls on the right side of the fairway. Long hitters should take less than driver off the tee as two large fairway bunkers lie 100 yards out.

Par 5
561 yards
The Links closes out with a dog-leg left par 5. The fairway is very wide, but avoid the only cedar tree on the course that bisects the fairway. The right side of the tree offers the most room, but the left of the tree will get you closer to the green.


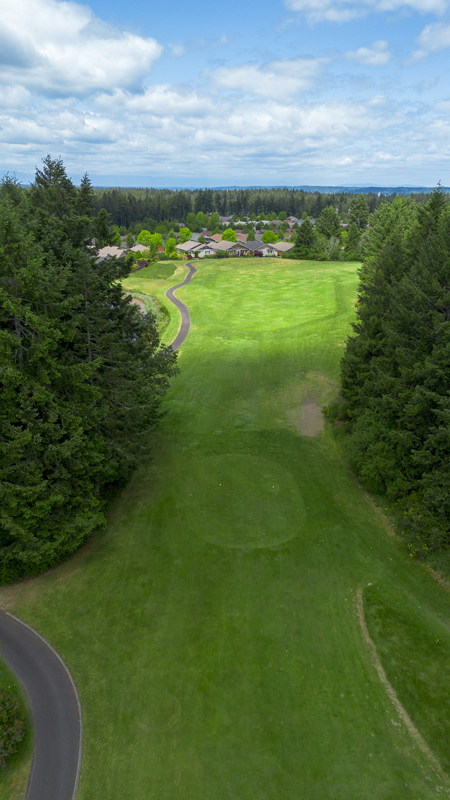
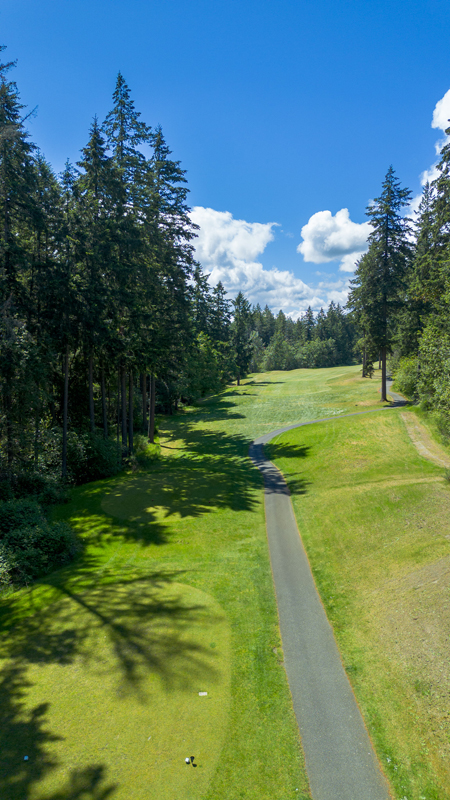
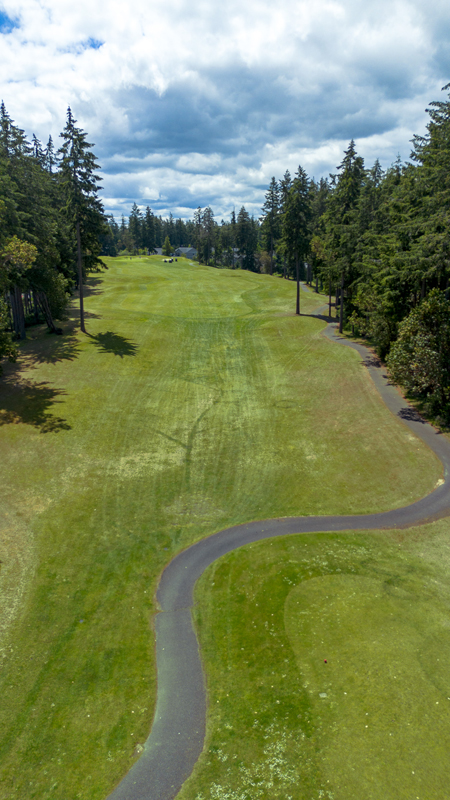
Par 4
348 yards
The opening hole is rated the easiest on the golf course and is a straightforward, short, and slightly dog-legging par 4. Regardless of what you hit from the tee, avoid the right side lined with trees; anything hit here will undoubtedly result in a bogey or worse.

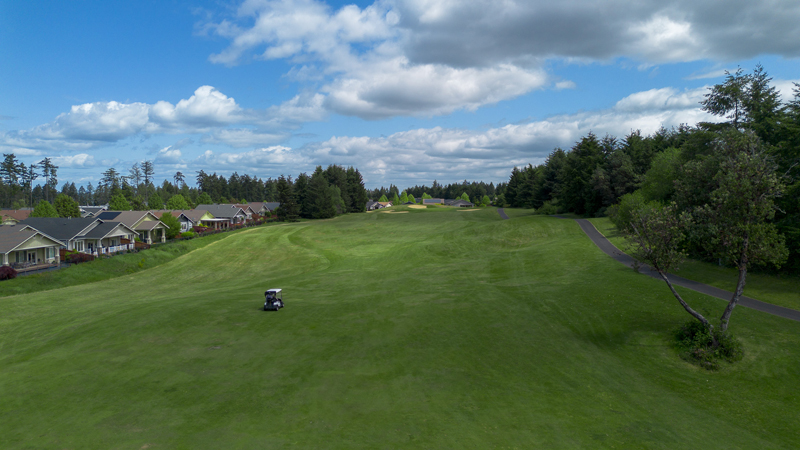
Par 4
370 yards
This short dogleg right plays deceivingly long as the approach shot is significantly uphill. This is a big green, and special attention should be given to a back pin placement as the right side of the green looks deeper than it looks from the fairway.


Par 4
415 yards
From the tee, avoid out-of-bounds up the entire right side by aiming at the 150-yard marker. This green is narrow back to front but big left to right and has three distinct quadrants.


Par 3
188 yards
The right half of the green is several feet higher than the left, very deep and receptive, and a birdie can often be made. Distance control is everything here.


Par 5
537 yards
This double dog-legging par 5 is the quintessential risk-reward hole. A well-struck drive fading slightly left to right will give the player the option to reach the green in two. Take note of the grass traps short and right of the green. This hole is an excellent opportunity for birdie or better.

Par 4
438 yards
A well-struck drive could still leave you on the upslope, forcing you to hit a long iron or fairway wood to the green. Any shot to the middle of this large and relatively flat green is good as the green is well guarded by bunkers on the right and long rough on the left.


Par 3
170 yards
Take less club as this hole plays significantly downhill. Don’t let the water hazards scare you; they should not come into play here. A well-hit shot to the middle of this green could easily lead to a three-putt, so pay close attention to your approach.


Par 4
385 yards
Considered by many to be a round killer, this medium-length dogleg requires well-thought-out and confident shots from both the tee and fairway, where you will be required to carry non-playable hazards with each shot. This green is bigger than it looks from the fairway, so take advantage of the middle by giving yourself a shot at Birdie and going to any hole location.

Par 4
487 yards
Longer hitters will want to club down as a driver will likely end up through the fairway, possibly reaching the native grass and wetland area. Bunkers on the left guard the green, so aim for the center of the green and make a birdie or eagle.


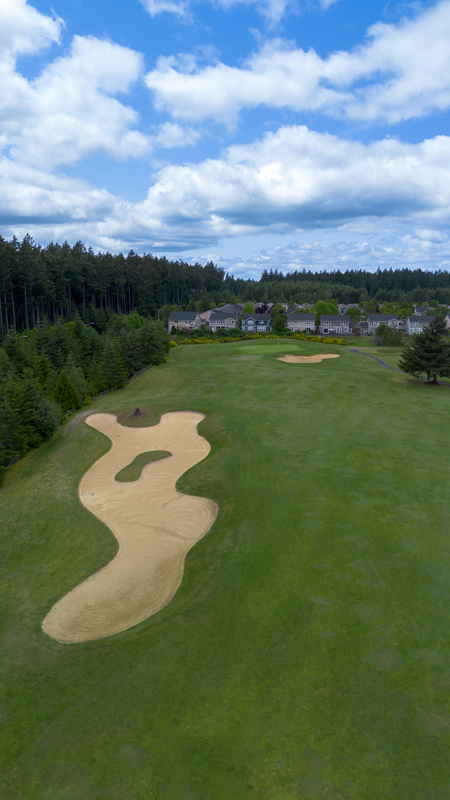
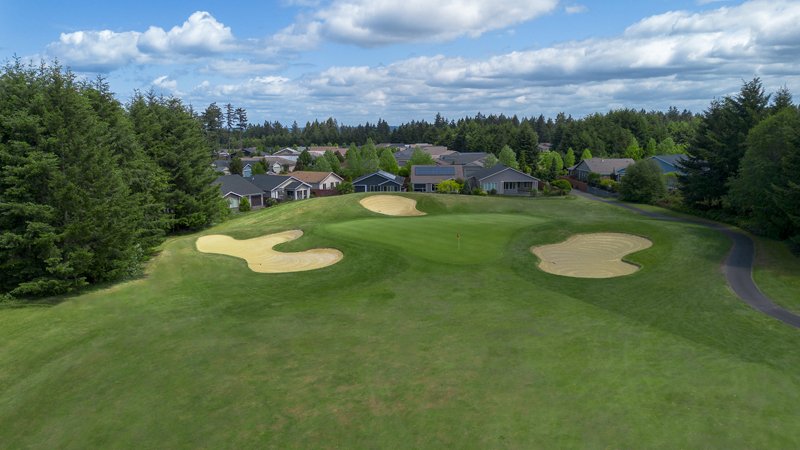
Par 4
360 yards
This 360-yard par 4 demands accuracy off the tee. The left side is protected by dense forest, and a large fairway bunker looms on the right. Pay attention to the pin location, as the green is over 40 yards long.


Par 3
166 yards
This uphill par 3 plays longer than it seems. The green is surrounded by grass bunkers, so be happy with anything on the putting surface. There is water right in front of the tee box, which throws caution into your thoughts. Ignore the water and concentrate on the green.


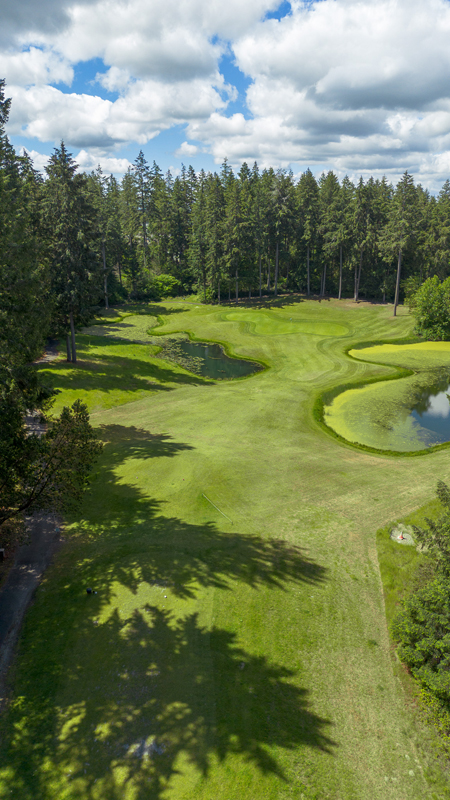
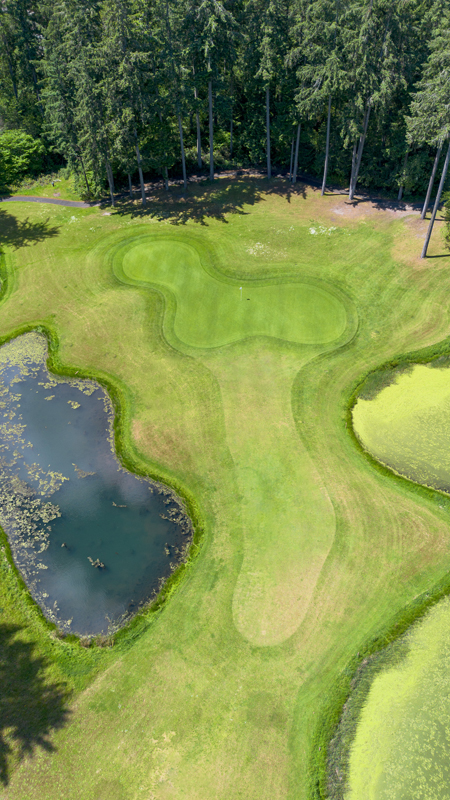
Par 4
343 yards
This par 4 is target golf at its best, as the fairway is surrounded by ponds. The green is L-shaped, with the front half very shallow while the back half is very narrow. Take an extra club, as this green is also elevated, and you must fly it onto the green to have a chance for birdie or par.

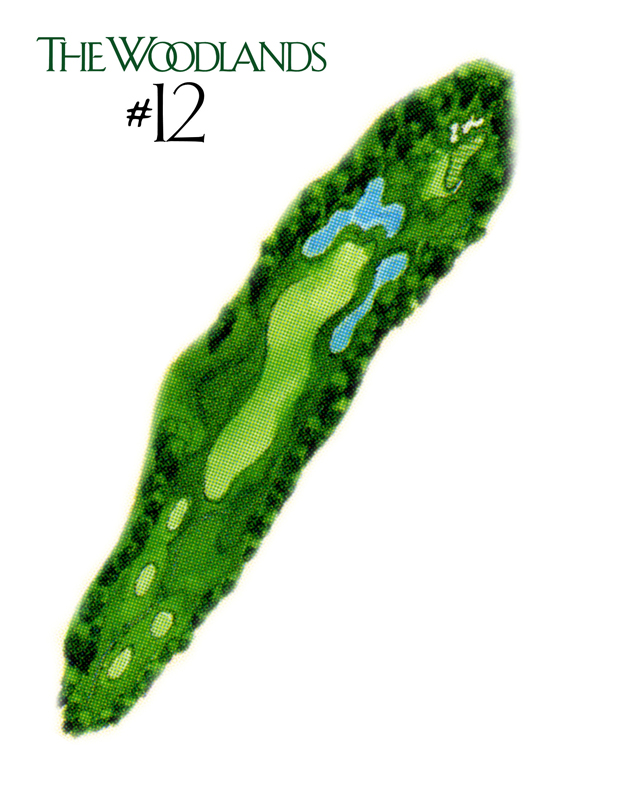
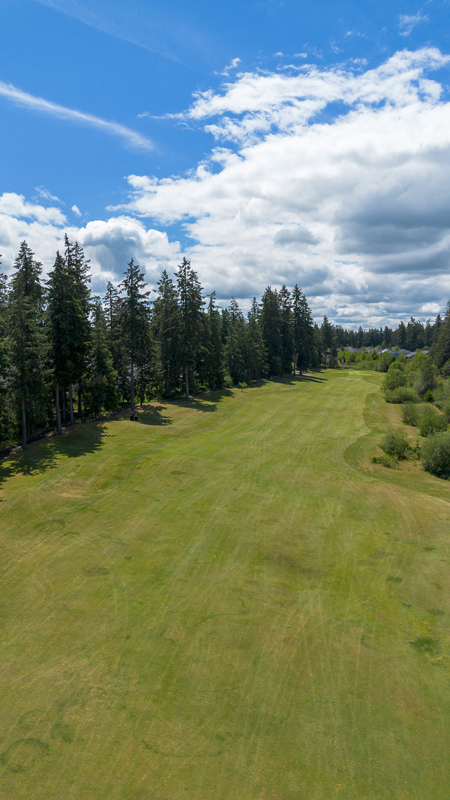
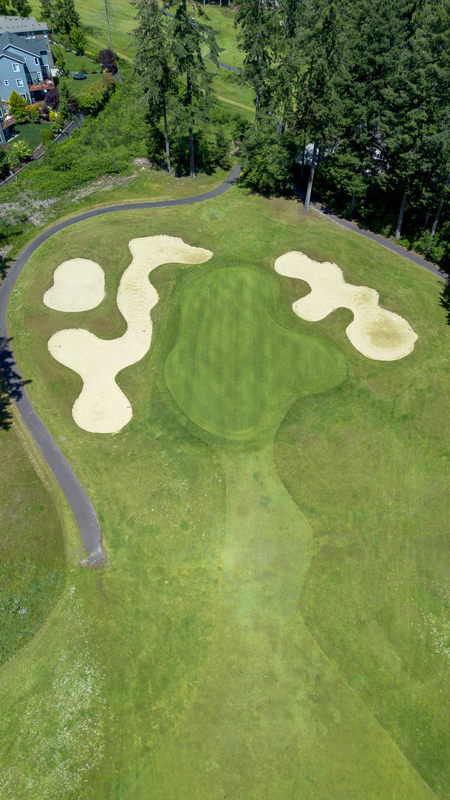
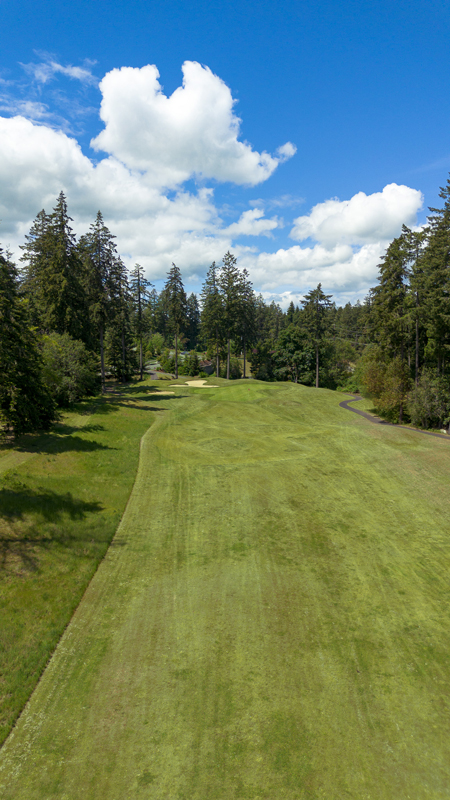
Par 5
517 yards
This 495-yard par 5 is our signature hole. Ponds cascade from the green to the tee on the right side of the hole, so favor your tee shot to the left. Lay-up shots should favor the left to avoid the ponds, but the right side of the fairway gives the best angle for a close approach.


Par 4
357 yards
This dog-leg left par 4 is 357 yards. The hole slopes from left to right, so it favors the left side of the fairway but avoids the two large fir trees on that side. This green is very undulating as a large hump sits in the middle of the green.


Par 3
179 yards
This par 3 plays uphill, with the hole sloping severely away on the right side of the green. Several bunkers protect the left side of the green.

Par 4
441 yards
Both sides of the hole are protected by forest, but the fairway is very generous, so tee it high and let it fly. The green, over 40 yards from front to back, is guarded by a large bunker on the right and a pot bunker on the left.

Par 4
375 yards
A large bunker splits the fairway, so it takes less than a driver to leave a mid-iron approach. A large swale to the right of the green will make for a difficult pitch for an approach that happens to drift in that direction.


Par 5
547 yards
This long par 5 closes out your round for the day. Avoid the fairway bunker that looms on the right side of the fairway and keep it between the trees. Be precise with your layup as another wetlands area stretches across the fairway at 125 yards. Take an extra club on your approach as this shot plays uphill into a difficult green surrounded by bunkers.


Practice Facilities
Both The Links and The Woodlands course feature separate practice facilities, including several putting greens and chipping areas. The teeing grounds contain grass-hitting areas, as well as synthetic turf mats for use during inclement weather.
Practice Facility Rates
- Small Bucket
- Medium Bucket
- Large Bucket
All pricing subject to applicable sales tax. Pricing subject to change.